Next.js でポートフォリオサイトを作成した
はじめに
Ruby + JekyllによるGihubPagesは既にあるのですが、宮崎版コロナ対策サイトで Vue に触れ、勉強がてら実際に JS によるサイト作成をすることにしました。
- JS の現状を知るために参照した主サイト
- 2020年 React軸で学ぶべき技術 from mizchi's blog
- ユーザー体験を向上させるサーバーサイドレンダリングJavaScript — 歴史と利点
自分
大学研究で cpp を利用しただけの、農学部卒。
作成に当たって
React と Next.js の tutorial と docs を一通りやりました。
サイト自体の目的
- 経歴や作成したもののリンクをまとめる
- GithubPages や Qiita、Gist への投稿物を一か所にまとめる
- Markdonw によるページ作成
リンク
技術・要件など
- React.js, Next.js
- マークダウン変換
- remarkjs/reamrk
- あとでmdx-js/mdxに変更するかも
- シンタックスハイライト
- UI コンポーネント
- ダークテーマ
- マークダウン変換
環境
- vm:virtualbox + vagrant
- OS: Ubuntu18.04 bionic
- node -v :v12.16.1
- yarn -v :1.22.4
実作業
yarn create next-app
yarn create next-app next-portfolio# =># ? Pick a template › - Use arrow-keys. Return to submit.# ❯ Default starter app# Example from the Next.js repoExample from the Next.js repo
- amp, amp-story, amp-first
- google analytics 類
- with-google-analytics, with-google-analytics-amp
- aws 類
- with-aws-Amplify, with-aws-Amplify-typescript
- その他: api 類, Custom server 類, preact および多数
- 参照:Github: vercel/next.js/example
Default starter appの場合
今回は React Next.js の勉強も兼ねているので、default の方を利用した。
# directory- public - favicon.ico, vercel.svg- pages - index.js- package.json- node_modules- README.md- yarn.lock{ "name": "next-portfolio", "version": "0.1.0", "private": true, "scripts": { "dev": "next dev", "build": "next build", "start": "next start" }, "dependencies": { "next": "9.3.5", "react": "16.13.1", "react-dom": "16.13.1" }}Material-UI 導入
見た目重視で material-ui を導入し、主にサイドバーの permanent / swipeable drawer と Grid に使用。
yarn add @material-ui/core @material-ui/iconscreate src/pages/index.jsx
srcディレクトリを作成し、下にpagesを収める。src/components/Layout.jsxの作成
複数ページで共通デザインとなるLayout.jsxを作成する。ここでは省略したが、<aside />の中には、material-uiを利用した permanent-drawer とモバイル用の swipeable-drawer を実装した。
import Link from 'next/link'import { makeStyles, useTheme } from '@material-ui/core/styles'import Hidden from '@material-ui/core/Hidden'import SwipeableDrawer from '@material-ui/core/SwipeableDrawer'import Drawer from '@material-ui/core/Drawer'import DoubleArrowIcon from '@material-ui/icons/DoubleArrow'import { List, ListItem, ListItemIcon, ListItemText, Divider } from '@material-ui/core'import HomeIcon from '@material-ui/icons/Home'
import { MyDrawerList } from '../components/MyDrawerList'
const drawerWidth = 250const useStyles = makeStyles((theme) => ({  // ...}))
export function Layout({ children }) {  // ...  const [state, setState] = React.useState({    left: false,  })
  // swipeable-drawerの開閉を制御するボタン  const toggleDrawer = (anchor, open) => (event) => {    if (event && event.type === 'keydown' && (event.key === 'Tab' || event.key === 'Shift')) {      return}    setState({ ...state, [anchor]: open })  }
  const HomeDrawerList = () => {    return (      <MyDrawerList>        <List>          <Link href='/'>            <ListItem button>              <ListItemIcon><HomeIcon /></ListItemIcon>              <ListItemText primary='Home' />            </ListItem>          </Link>          // ...        </List>      </MyDrawerList>    )  }
return ( <React.Fragment key='left'> <Hidden lgUp> // モバイル端末用 // if display-width > 1280px, display: none <SwipeableDrawer anchor='left' open={state['left']} onClose={toggleDrawer('left', false)} onOpen={toggleDrawer('left', true)} > <div className='swipeableList' role='presentation' onClick={toggleDrawer('left', false)} onKeyDown={toggleDrawer('left', false)} > <HomeDrawerList /> </div> </SwipeableDrawer> <footer> <button onClick={toggleDrawer('left', true)}> <DoubleArrowIcon color='secondary' style={{ fontSize: 34 }} /> </button> </footer> </Hidden> <Hidden mdDown> // 非モバイルディスプレイ用 // if device-width < 1280px, display:none <aside> <Drawer className='permanentDrawer' variant='permanent' anchor='left'> <HomeDrawerList /> </Drawer> </aside> </Hidden> <main className={classes.contents}> {children} </main> <style jsx>{` // ... `}</style> </React.Fragment> )}pages/index.jsxの作成
まだ React 等に不慣れなので、pages/index.jsにサイト 1 ページ目を作りこんで、後から component に分割する方式をとった。
色々試した結果、サイトトップにあたる pages/index.jsxは下の様になった。また、<head><meta/></head>用のデータは/public/manifest.jsonから持ってくることにした。
import Head from 'next/head'import { Layout } from '../components/Layout'import { Top, About, History, Works } from '../components/HomeContents'import manifest from '../../public/manifest.json'
export default function Home() { return ( <> <Layout> <Head> <title>{manifest.name}</title> <meta name='title' content={manifest.name} /> <meta name='description' content={manifest.description} /> <meta property='og:title' content={manifest.name} /> <meta property='og:description' content={manifest.description} /> <meta property='og:image' content={`${manifest.vercel}/assets/prtsc700.jpg`} /> <meta property='og:url' content={`${manifest.vercel}`} /> </Head> <Top /> <About /> <History /> <Works /> </Layout> <style jsx global>{` // ... `}</style> </> )}import Link from 'next/link'import Grid from '@material-ui/core/Grid'
export function Top() { return <section id='top' className='topContainer' />}
export function About() { return ( <section id='about' className='content'> <h2>About</h2> <Grid container spacing={4}> <Grid item md={12} lg={5}> <picture> ... </picture> </Grid> <Grid item md={12} lg={7}> <p>My name is Hoge.</p> </Grid> </Grid> </section> );}
export function Works() { return <section id='works' className='content' />}
export function History() { return <section id='history' className='content' />}_app.jsx,_document.jsx, 404.jsx
参照
-
_app.jsx- global css を追加する場所
-
_document.jsx- SSR される箇所なので、
onclickなどイベントハンドラは動かない <Main />の外側にあるコンポーネントはブラウザによる初期化がされないので、App ロジック等はapp.jsxに記述<title>や<Head />、styled-jsxを書いちゃ駄目。
- SSR される箇所なので、
Posts周辺の作成
ダイナミックルーティング
ディレクトリ構成
- pages (*directory) - index.jsx - posts (*directory) - hoge.jsx - [id].jsxまた、/pages/posts/[id].jsxは
import useRouter from 'next/route'export default function Post(){ const router = useRouter() const { id } = router.query return <p>Post: {id}</p>}ファイル名に[]が付いてるので変に見えるが。例えば
localhost:3000/posts/hoge/にアクセスするとpages/posts/hoge.jsxが読み込まれるlocalhost:3000/posts/foobarだと、pages/posts/foobar.jsxが読み込まれ、
dynamic routeとLink (next/link)を併用するときは、hrefに合わせてasも使う。
getStaticProps, getStaticPaths
今回は md ファイルを/src/pages/docsに入れる。
baseUrl/postsへのアクセス時は、docs 下の md ファイルを読込み、posts 一覧の出力baseUrl/posts/[id]の場合は、同様にして、post 単体の出力baseUrl/tagsの場合は、同様に posts で使用されている投稿タグ一覧の出力baseUrl/tags/[tag]なら、同タグを使用する posts 一覧を出力- docs 配下に無い md ファイル名にアクセスした場合は、
404
ページ出力がsrc/pages/docs/xxx.mdという外部データに依存した静的ページ出力をしたいので、getStaticPropsとgetStaticPathsを使用した。
-
getStaticProps- 出力ページのコンテンツが外部データに依存しているときに使用
-
getStaticPaths- 出力ページ中のリンクが外部データに依存しているときに使用
-
参考
マークダウン
- 実現したいこと
- Qiita や Gist 等での投稿を可能な限り手間なく集約したい
mdxjs/mdxなら、ファイル中にimportやexportなどの js を組み込める。
- 最終的に利用したもの。
- jonschlinkert/ gray-matter
- processor: remarkjs/ remark
- highlighter: highlight.js
構文木について、しっかり学ばねばと思いました。
import fs from 'fs'import path from 'path'import matter from 'gray-matter'import remark from 'remark'import html from 'remark-html'
export async function getPostData(id) {    const fullPath = path.join(postsDirectory, `${id}.md`)  const fileContents = fs.readFileSync(fullPath, 'utf8')  const matterResult = matter(fileContents)  const LowerCaseTags = matterResult.data.tags.map((tag) => (tag.toLowerCase()))  const highlight = require('remark-highlight.js')    const processedContent = await remark()    .use(highlight)    .use(html)    .process(matterResult.content)    const contentHtml = processedContent.toString()    return {    id,    contentHtml,    LowerCaseTags,    ...matterResult.data,  }}
meta
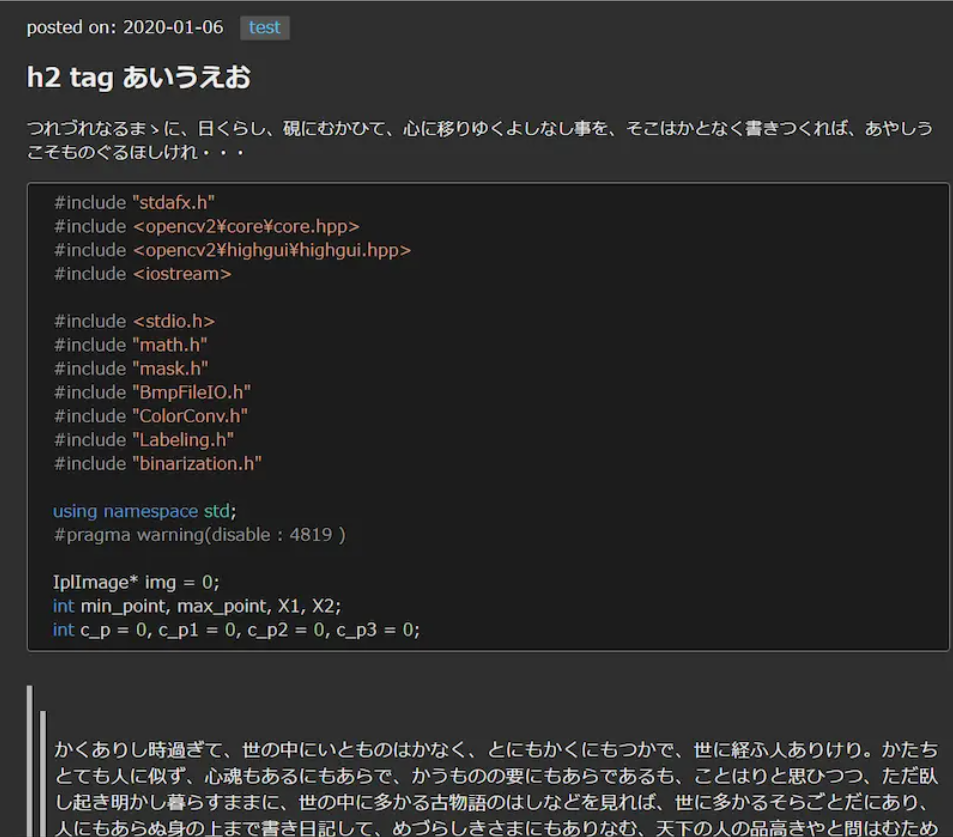
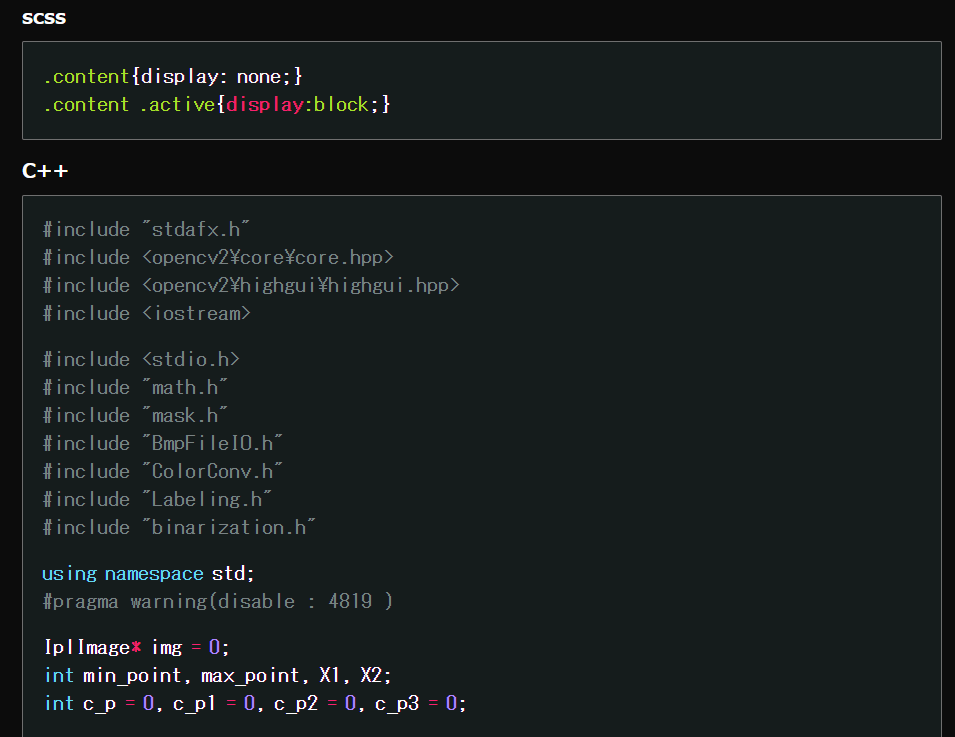
以前にrubyとjekyllで作ったgithubpagesと比較して、syntax-highlight が粗いので改善が必要
---date: '2020-05-26'author: Kawano Yudaititle: 'Qiita: Next.jsでポートフォリオサイトを作成した'tags: [Qiita, React, Next.js]image: '/assets/posts/202003/miyazaki-oss1.jpg'---SNSシェアボタン
<button className='twitter'> <a href={`https://twitter.com/share?text=${postData.title}&hashtags=react,nextjs&url=https://next-portfolio-blue.now.sh/posts/${postData.id}&related=not_you_die`} target='_blank' rel='noopener noreferrer'><TwitterIcon /></a></button><button className='hatena'> <a href={`https://b.hatena.ne.jp/entry/https://next-portfolio-blue.now.sh/posts/${postData.id}`} className='hatena-bookmark-button' data-hatena-bookmark-layout='touch-counter' title={postData.title} target='_blank' rel='noopener noreferrer'><HatenaIcon /></a></button>UPDATE
README.md
@ 2020-05-27
Qiita 投稿の公開に当たり、README.mdを充実させた
npm install 禁止
@ 2020-05-27
特に理由はないがnpmの仕様を禁じることにした。
Custom Domain
@ 2020-06-01
- google domainで購入
- Vercel 側でドメインを変更
- Google Domain 側で dns を vercel 用に変更
- ns1.vercel-dns.com
- ns2.vercel-dns.com
Google Analytics
@ 2020-06-05
GoogleAnalytics 側で ID を取得し、_app.jsxと_document.jsxを上コードに従って修正する。
PWA implimentation
next-offline
@ 2020-06-05
next-offlineを利用した。上リポジトリでも記載してあるが、Vercel( Now )の v1 と v2 で動作が違う。ただし、現在は v2 オンリーなので、同リポジトリ内にあるpackages/now2-exampleのnow.jsonとnext.config.jsonに倣えばよい。
PWA
@2020-06-25
- reference: shadowwalker / next-pwa
最初に使った next-offline は更新が遅く、また experimental な部分を利用していたなどの理由から、next-pwaに移行した。example からわかるように、非常にシンプルになった。
const withPWA = require("next-pwa");
module.exports = withPWA({  pwa: {    dest: "public"  }});
TypeScirpt
@2020-06-30 Next.js の TS 化は非常に簡単で、最初のうちはNext.js Learn Typesciptなどに従えば良い。
touch tsconfig.json# If you’re using Yarnyarn add --dev typescript @types/react @types/nodeあとは、Learn 等に従って、ts 化していけば、何となく理解できる。また、tsconfig.jsonでallowJs:trueにしておけば、もし仮に型がわからんものを含む js ファイルはそのままにしておいて、理解が進んでから完全に ts 化すればいいのでは。
- TS の理解を深めるために、読んだもの
npm-script
mizchi氏のブログなどを見てて、npm-script や EsModule などを知った。ちょうど、sitemap.mxlを造る必要があったので、利用することにした。
# pagesMap.json => sitmap.mxl# pagesMap.json + history.json => rssn --stable# => 12.18.2n --latest# => 14.5.0n latestnode -v=> v14.4.0vercel は nodejs の LTS しか対応しないので、package.json 中の npm-script は build 用 と generate script用で分ける必要があった。
"scripts": { "dev": "next dev", "build": "next build", "local-build": "next build && node script/genRobots.mjs && node script/genPostsMap.mjs && node script/genSiteMap.mjs && node script/genRss.mjs && node script/genAtom.mjs", "start": "next start",},mjs について未だ良くわからんこと、作るのが自分用のファイルジェネレーターであることもあって、コードが汚いので…↓
pages.json
@2020-06-30 post の情報を集約した postPages.json を作成した。ファイル更新履歴等はそのうち GitHub から取得できるようにしたい。
- JSON.stringify が良くわからなかったので、読んだもの。
作りたいファイル構成
// {// id: '20200526-next-portfolio',// title: 'Qiita: Next.jsでポートフォリオサイトを作成した',// create: '2020-05-26',// update: '2020-06-05',// tags: ['qiita', 'react', 'next.js', 'remark.js', 'vercel'],// },postsMap generator script
import path from 'path'import fs from 'fs'import matter from 'gray-matter'
const postsDirectory = path.join(process.cwd(), 'src/docs')const fileNames = fs.readdirSync(postsDirectory)const allPostsData = fileNames.map((fileName) => {  const id = fileName.replace(/\.md$/, '')  const fullPath = path.join(postsDirectory, fileName)  const fileContents = fs.readFileSync(fullPath, 'utf8')  const matterResult = matter(fileContents)  const LowerCaseTags = matterResult.data.tags.map((tag) => (tag.toLowerCase()))    const title = matterResult.data.title  const create = matterResult.data.create  const update = matterResult.data.update || ''  const tags = LowerCaseTags || ''  return {    id,    title,    create,    update,    tags  }})
const sortedPostsData = allPostsData.sort((a, b) => {    if (a.create < b.create) {      return 1    } else {      return -1    }})
fs.writeFileSync(  path.join(process.cwd(), 'gen/postPages.json'),  JSON.stringify(sortedPostsData, undefined, 2),  'utf-8')
sitemap.xml
@2020-07-01
サイトマップジェネレータライブラリは上記の通りあるが、xml の構造は簡単そうだったので自作した。
- sitemap.xml を知るために読んだもの
sitemap.xml の基本構成
<?xml version="1.0" encoding="UTF-8"?><urlset xmlns="http://www.sitemaps.org/schemas/sitemap/0.9"> <url> <loc>http://www.example.com/</loc> <lastmod>2005-01-01</lastmod> <changefreq>daily</changefreq> <priority>1.0</priority> </url></urlset>xmlはファイル頭に空白行が入ると、<?xml ?>の宣言が無いと言ってエラーを吐く
import path from 'path'import fs from 'fs'
const base = 'https://oriverk.dev'const fixed = [  { url: base, update: '2020-06-26' },  { url: '/posts', update: '2020-06-30' },  { url: '/tags', update: '2020-06-26' }]
const posts = JSON.parse(fs.readFileSync(  path.join(process.cwd(), 'gen/postPages.json'), 'utf8'))
const sitemap = `<?xml version="1.0"?><urlset xmlns="http://www.sitemaps.org/schemas/sitemap/0.9"        xmlns:xhtml="http://www.w3.org/1999/xhtml"        xmlns:mobile="http://www.google.com/schemas/sitemap-mobile/1.0"        xmlns:video="http://www.google.com/schemas/sitemap-video/1.1"        xmlns:image="http://www.google.com/schemas/sitemap-image/1.1">${fixed.map((f) => {  return `<url>    <loc>${base === f.url ? base : base + f.url}</loc>    <lastmod>${f.update}</lastmod>    <changefreq>daily</changefreq>    <priority>1.0</priority>  </url>  `}).join("")}${posts.map((post) => { return `<url>    <loc>${base}/posts/${post.id}</loc>    <lastmod>${post.update || post.create}</lastmod>    <changefreq>daily</changefreq>    <priority>1.0</priority>  </url>  `}).join("")}</urlset>`
fs.writeFileSync(path.join(process.cwd(), "public/sitemap.xml"), sitemap)
RSS & Atom
@2020-07-01 RSS 2.0 と Atom 1.0 に対応する。
- 読んだもの
RSS 2.0 フォーマット
<?xml version='1.0' encoding='UTF-8'?><rss version='2.0'> <channel> <title>hogehoge foobar</title> <link>http://example.com/</link> <description>aaaaaaaaaaaaaaaa</description> <item> <title>tegetege mikan</title> <link>http://example.com/post3.html</link> <description> this is description</description> <pubDate>Wed, 11 Jun 2008 15:30:59 +0900</pubDate> </item> </channel></rss>Atom 1.0 フォーマット
<?xml version='1.0' encoding='UTF-8'?><feed xmlns='http://www.w3.org/2005/Atom' xml:lang='ja'> <id>tag:example.comfeed/</id> <title>example.com update info</title> <updated>2020-06-11T15:30:59Z</updated> <link rel='alternate' type='text/html' href='http://example.com/feed/' /> <link rel='self' type='application/atom+xml' href='http://example.com/feed/atom10.xml' /> <entry> <id>http://example.com/post1.html#20080609205030</id> <title>foobar</title> <link rel='alternate' type='text/html' href='http://example.com/post1.html' /> <updated>2020-06-09T20:50:30Z</updated> <summary>foofoooofooo</summary> </entry></feed>RSS と Atom のジェネレーターコードは、基本的に sitemap.xml と同じなので。
RSS 2.0 ジェネレータ
import path from 'path'import fs from 'fs'
const base = {  url: 'https://oriverk.dev',  title: "Kawano Yudai's site",  desc: "This site is for my portfolio and made with React, Next.js"}const posts = JSON.parse(fs.readFileSync(  path.join(process.cwd(), 'gen/postPages.json'), 'utf8'))
const rss = `<?xml version='1.0'?><rss version='2.0'>  <channel>    <title>${base.title}</title>    <link>${base.url}</link>    <description>${base.desc}</description>    <language>ja</language>    <lastBuildDate>${new Date()}</lastBuildDate>/${posts.map((post) => {  return `<item>      <title>${post.title}</title>      <link>${base.url}/posts/${post.id}</link>      <description>${post.tags.join(', ')}</description>      <pubDate>${post.create}</pubDate>    </item>  `}).join('')}  </channel></rss>`fs.writeFileSync(path.join(process.cwd(),'public/rss.xml'), rss)
Atom 1.0 ジェネレーター
import path from 'path'import fs from 'fs-extra'
const base = {  url: 'https://oriverk.dev',  title: "Kawano Yudai's site",  desc: "This site is for my portfolio and made with React, Next.js"}const posts = JSON.parse(fs.readFileSync(  path.join(process.cwd(), 'gen/postPages.json'), 'utf8'))
const atom = `<?xml version='1.0'?><feed xmlns='http://www.w3.org/2005/Atom' xml:lang='ja'>  <id>${base.url}</id>  <title>${base.title}</title>  <updated>${new Date()}</updated>  <link rel='alternate' type='text/html' href='${base.url}' />  <link rel='self' type='application/atom+xml' href='${base.url + '/atom.xml'}' />  ${posts.map((post) => {    return `<entry>      <id>${post.id}</id>      <title>${post.title}</title>      <link rel='alternate' type='text/html' href='${base.url + '/posts/' + post.id}' />      <updated>${post.update || post.create}</updated>      <summary>${post.tags.join(', ')}</summary>    </entry>`}).join('')}</feed>`fs.writeFileSync(path.join(process.cwd(), 'public/atom.xml'), atom)
Algolia search
投稿記事の検索に Algolia を利用した。postsMap.json をデータとして投入した。
現在のデータ投入は手動で行なっているが、あとで postsMap.json生成時に差分があればapiで投入できるようにしたい。
To do
- CSS の統一
- AMP 対応
- コードブロックの言語またはファイル名の出力
- syntax-highlight の改善
- post ページの目次機能
- og:image 動的生成コード